
Discover the secrets to creating a stunning wrap dress with this comprehensive sewing tutorial, perfect for beginners and experienced sewists alike.
As a popular fashion staple, wrap dresses are a must-have in any wardrobe. Not only are they comfortable and versatile, but they also flatter various body types. With this guide, you’ll learn how to sew a wrap dress that fits you perfectly, and you’ll be able to create multiple variations using different fabrics and styles.
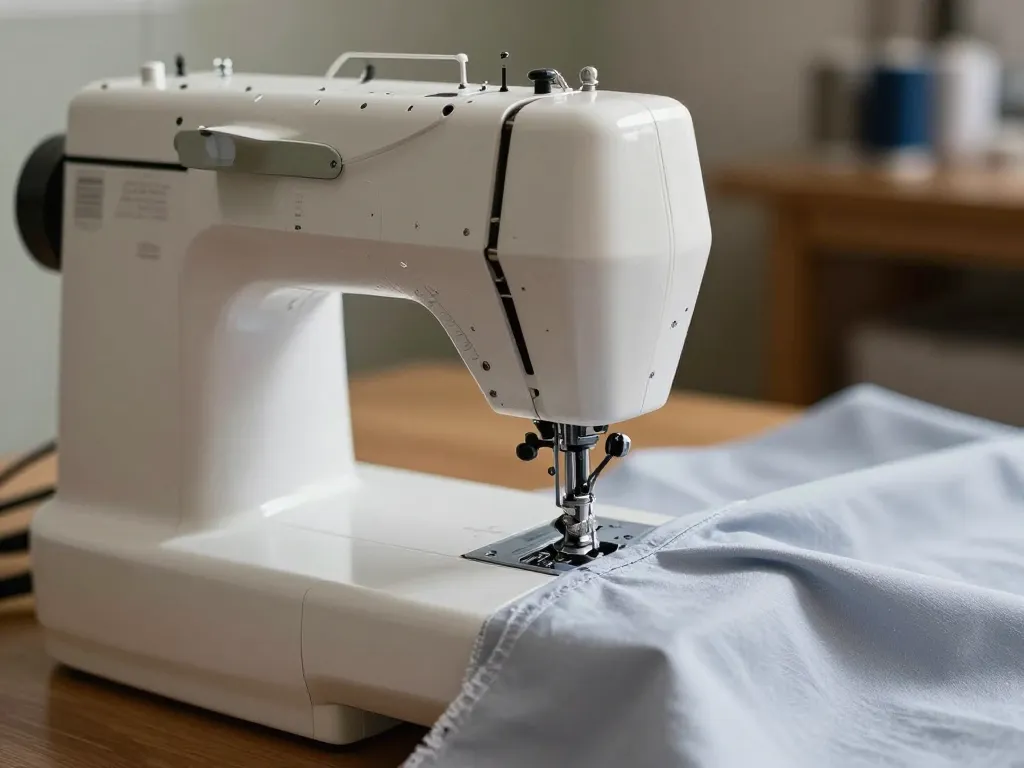
Sewing a wrap dress may seem intimidating, but with the right techniques and tools, it’s a project that can be completed in no time. In this tutorial, we’ll take you through each step, from preparing your fabric to adding the final touches.
Understanding the Basics of a Wrap Dress
Before we dive into the sewing process, it’s essential to understand the basic components of a wrap dress. A typical wrap dress consists of a front piece, a back piece, and tie or sash that wraps around the body. The front piece usually has a V-neckline, and the back piece has a curved silhouette that follows the natural shape of the body. The tie or sash is what gives the dress its signature wrap style.
👋 Sounds interesting?
Explore the full offer — you might find exactly what you’ve been looking for.
When it comes to choosing a pattern, you can either create your own or use a pre-existing one. If you’re a beginner, it’s recommended to start with a simple pattern and gradually move on to more complex designs as you gain confidence in your sewing skills. You can find various wrap dress patterns online or in sewing books, or you can create your own using a piece of paper and a pencil.

Preparing Your Fabric
The type of fabric you choose will greatly impact the overall look and feel of your wrap dress. For a flowy, feminine look, opt for lightweight fabrics such as cotton lawn, voile, or silk. If you prefer a more structured dress, you can use heavier fabrics like denim or canvas.
Before cutting your fabric, make sure to wash and dry it to remove any shrinkage. This step is crucial, as it will ensure that your dress fits perfectly after completion. Iron your fabric to remove any wrinkles, and then lay it out on a flat surface.
Cutting Out Your Pattern Pieces
With your fabric prepared, it’s time to cut out your pattern pieces. Use scissors or a rotary cutter to cut out the front and back pieces, making sure to follow the grain line of the fabric. Cut two front pieces and two back pieces, as you’ll need to sew them together to create the dress.
If you’re using a pre-existing pattern, follow the instructions provided to cut out the pieces. If you’re creating your own pattern, use a ruler and pencil to draw the shape of the dress onto the fabric. Make sure to add a 1/2-inch seam allowance around the edges.

Sewing the Dress Together
⭐ Top Pick
This is one of the most recommended options in this category. Check availability before it sells out.
Now that you have your pattern pieces cut out, it’s time to sew them together. Start by sewing the front pieces together, right sides facing in. Use a 1/2-inch seam allowance and a straight stitch to sew along the sides and bottom of the dress. Repeat the process for the back pieces.
Once you have the front and back pieces sewn together, it’s time to attach them to each other. Place the front and back pieces right sides facing in, and sew along the sides and bottom of the dress. Make sure to leave a small opening at the top for turning the dress right side out.
Adding the Tie or Sash
The tie or sash is what gives the wrap dress its signature style. You can use a variety of materials, such as cotton, silk, or even ribbon. Cut two long strips of fabric, each about 2-3 inches wide. Fold the strips in half lengthwise, right sides facing in, and sew along the edge to create a tube.
Turn the tube right side out, and press the seam to create a crisp fold. Attach the tie or sash to the dress by sewing it to the side seams, about 2-3 inches from the top of the dress.

Adding the Final Touches
With the dress almost complete, it’s time to add the final touches. Turn the dress right side out, and press the seams to create a crisp fold. Topstitch around the edges of the dress to give it a professional finish.
✅ Ready to take the next step?
Don’t miss out — see the latest pricing and details right now.
Add any embellishments you like, such as buttons, appliques, or embroidery. You can also add a lining to the dress for extra comfort and stability.
Finally, try on the dress and make any necessary adjustments. You can take in or let out the seams to fit your body perfectly.
Get Sewing and Create Your Dream Wrap Dress!
With this comprehensive tutorial, you’re ready to start sewing your own wrap dress. Remember to take your time, follow the instructions carefully, and don’t be afraid to experiment with different fabrics and styles. With practice and patience, you’ll be creating stunning wrap dresses in no time.
So, what are you waiting for? Gather your fabric, thread, and sewing machine, and get started on your wrap dress sewing journey today!

0 Comments