
Learn to sew with our Sewing Lessons for Beginners-friendly step-by-step tutorials. From setting up your machine to creating a finished project, we’ve got you covered.
Are you interested in learning how to sew, but have no idea where to start? Do you feel overwhelmed by the thought of threading a needle, let alone creating a beautiful garment? Fear not, dear beginner! With these sewing lessons for beginners, you’ll be stitching like a pro in no time. Our step-by-step tutorials are designed to take you by the hand and guide you through the process, from setting up your machine to creating a finished project.
Getting Started with Sewing Lessons for Beginners
Before we dive into the tutorials, let’s cover the basics. To get started with sewing, you’ll need a few essential tools and supplies. First and foremost, you’ll need a sewing machine. Don’t worry if you don’t know what type to get – we’ll cover that in a minute. You’ll also need some basic notions like thread, needles, and pins. Finally, you’ll need some fabric to practice on. We recommend starting with a simple cotton or polyester blend.

Choosing the Right Sewing Machine
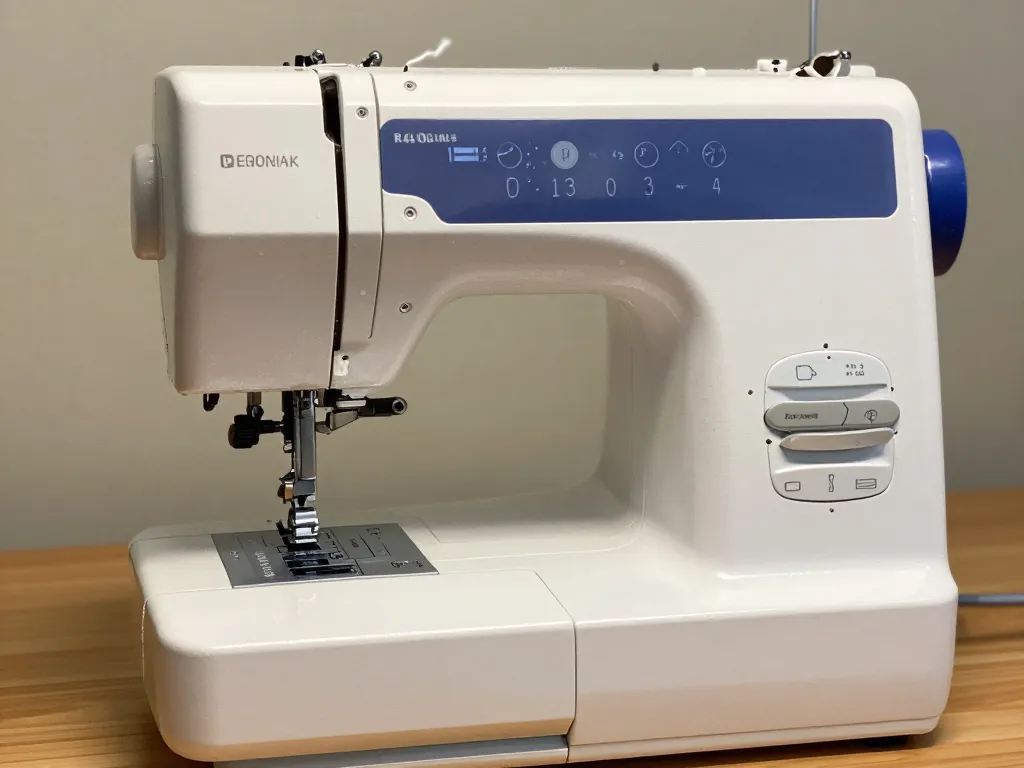
With so many sewing machines on the market, it can be overwhelming to choose the right one. But don’t worry, we’re here to help. For beginners, we recommend a mechanical machine. These machines are easy to use and maintain, and are perfect for simple projects like pillowcases and tote bags. Look for a machine with a few basic stitches, like a straight stitch and a zigzag stitch. You don’t need a lot of fancy features at this stage.
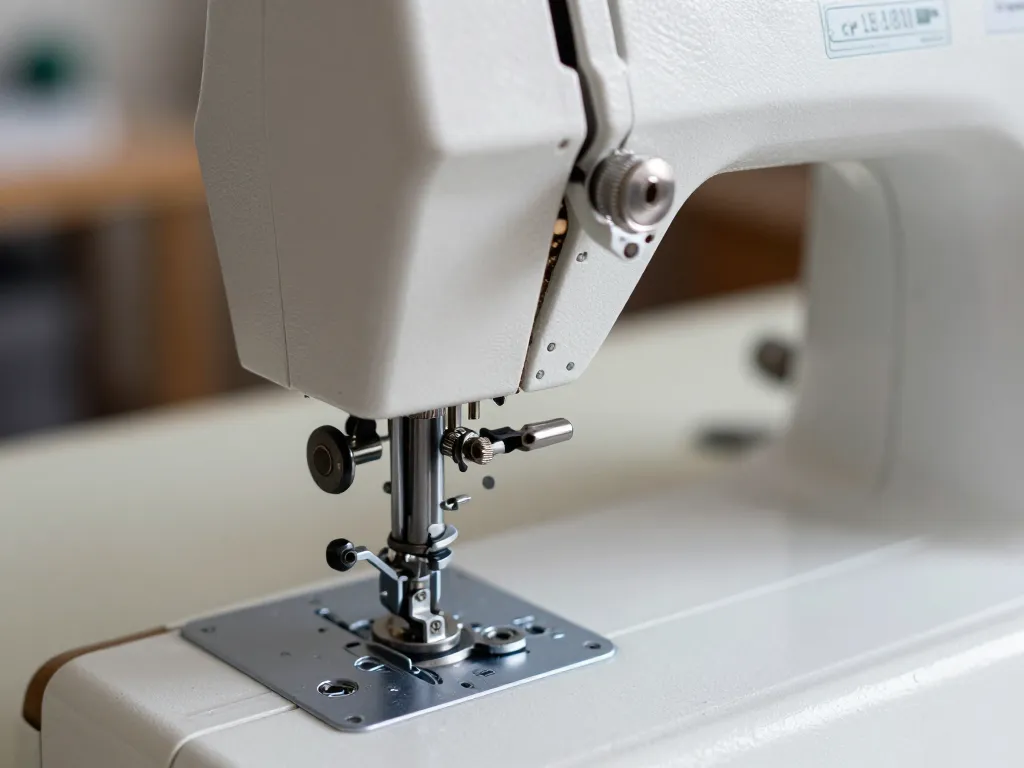
Threading Your Machine
Now that you have your machine, it’s time to thread it. This can be one of the most intimidating parts of sewing, but trust us, it’s easier than you think. To thread your machine, start by locating the spool pin. This is usually located on the top of the machine. Next, pull the thread through the machine, leaving a small tail. Finally, pull the thread through the needle and tie a knot. Voila! Your machine is threaded.
Basic Sewing Stitches
Now that your machine is threaded, it’s time to learn some basic stitches. The straight stitch is the most common stitch used in sewing. It’s perfect for seaming two pieces of fabric together, and is used in everything from pillowcases to dresses. To sew a straight stitch, simply place your fabric under the presser foot and start sewing. Keep your fabric moving slowly and steadily, and don’t worry if it’s not perfect at first.

Sewing a Simple Project
Now that you’ve mastered the straight stitch, it’s time to sew a simple project. We recommend starting with a pillowcase. This project requires only a few pieces of fabric and some basic sewing skills. To start, cut out two pieces of fabric to the same size.
Place them right sides together and sew around the edges, leaving a small opening to turn the pillowcase right side out. Turn the pillowcase right side out and press the seams. Finally, topstitch around the edges to give your pillowcase a professional finish.
Common Mistakes to Avoid
As a beginner, before you read sewing lessons for beginners, it’s easy to make mistakes. But don’t worry, we’ve all been there. One of the most common mistakes is sewing too slowly or too quickly. This can cause your stitches to be uneven or your fabric to bunch up.
To avoid this, read this sewing lessons for beginners, try to keep a steady pace and don’t pull the fabric too tightly.
Another common mistake is not backstitching at the beginning and end of your seam. This can cause your seam to come undone. To avoid this, simply backstitch at the beginning and end of your seam.

Conclusion
Learning to sew takes time and practice, but with these step-by-step tutorials, you’ll be well on your way. Remember to take it slow, be patient with yourself, and don’t be afraid to make mistakes. With a little practice, you’ll be creating beautiful garments and home decor items in no time. So why not get started today? Grab your machine, some fabric, and let’s get sewing!

0 Comments